First, you will start from the main dashboard and navigate to the user settings feature.
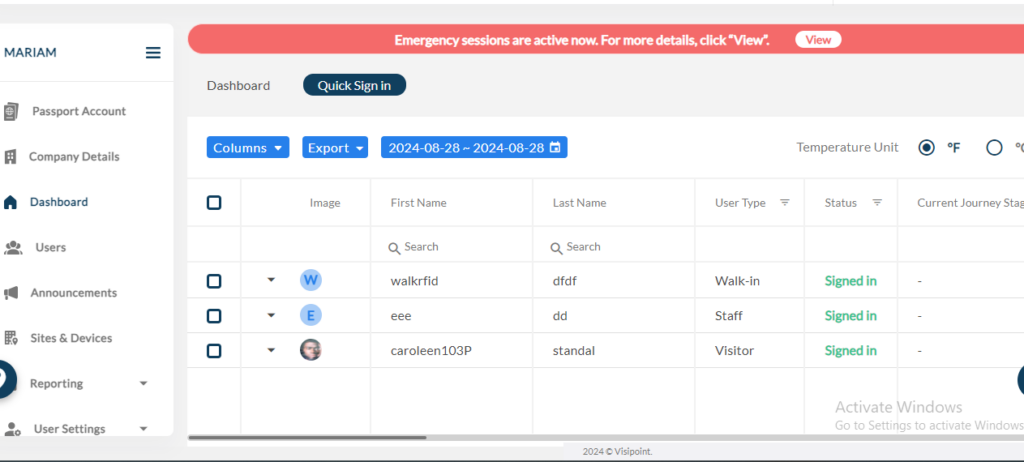
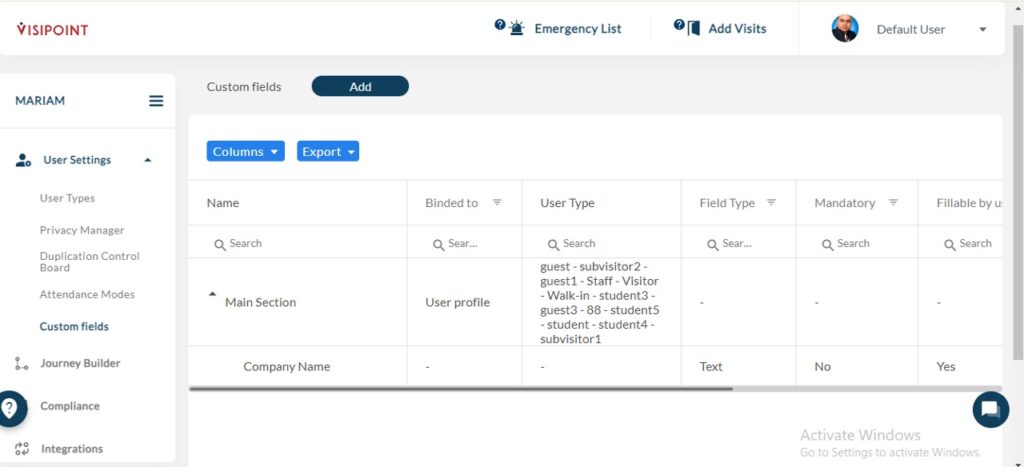
Once you are in the custom fields section, you can add a new custom field.
A new custom field can be added to the main section, or you could create a new one.

Once you add a new section, you will come to this page next.

You can give the custom field a name and choose its type.
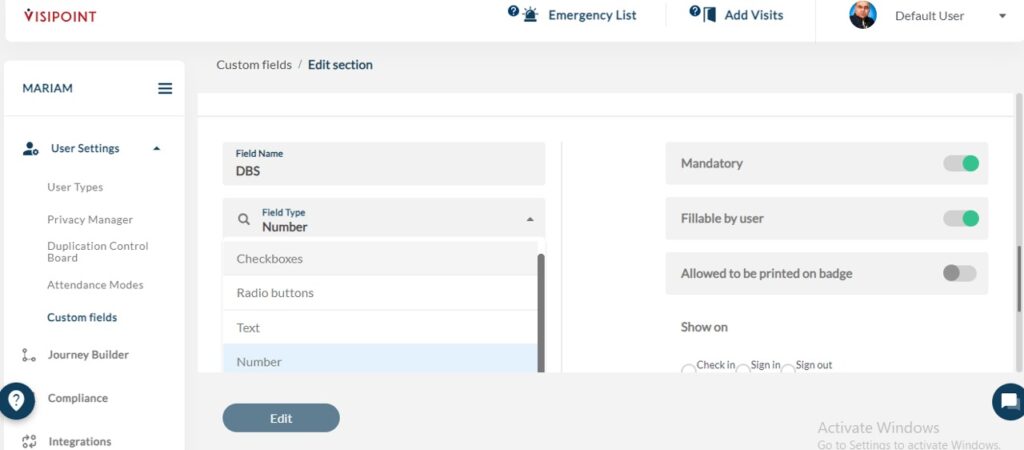
Choose whether to make this custom field mandatory for users and whether to include it on the printed badge.
Next, you will choose if that information is required for sign-in, sign-out, or check-in.
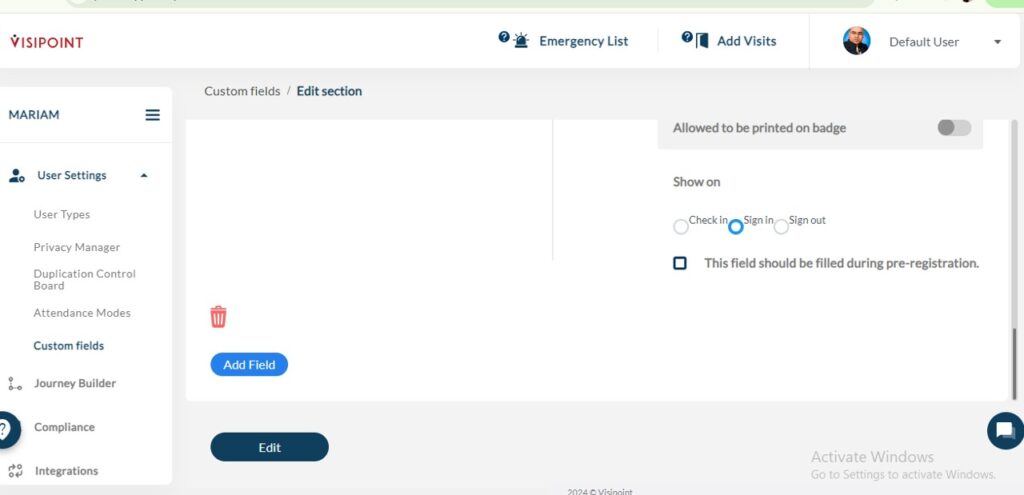
You can choose to add another field or click edit.
Once you click on edit, this custom field will be added to the main section.
If you want to create a whole new section, you will choose to add a new section from here.

Once you click on add a new section, this is what you will see.
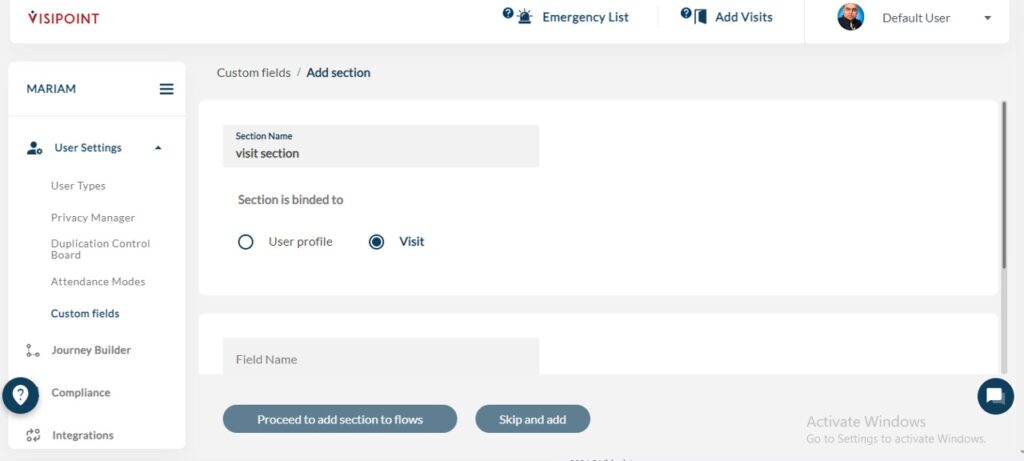
You will have the option to choose if that custom field is bound to the user profile or by visit.
If it is bound by the user profile, that means you will only receive the answer once and it will be added to the user profile going forward.
If you choose to bind it by visit, that means the information will be required with each visit.
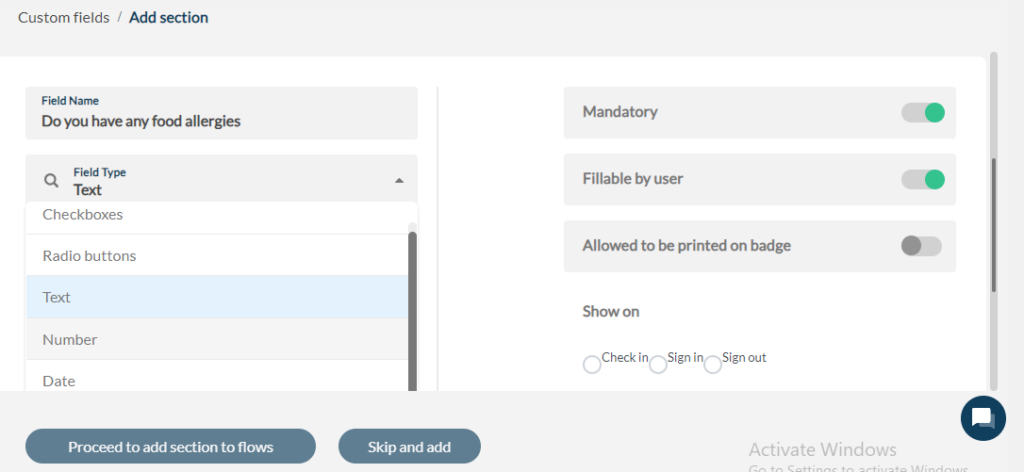
You will have to name the custom field and choose a suitable field type for it. For example, this could be text, a number, a date, or more.
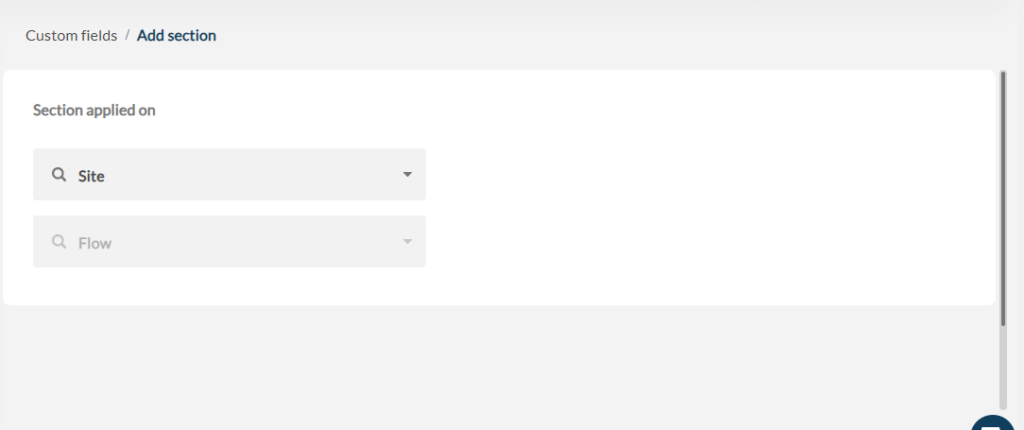
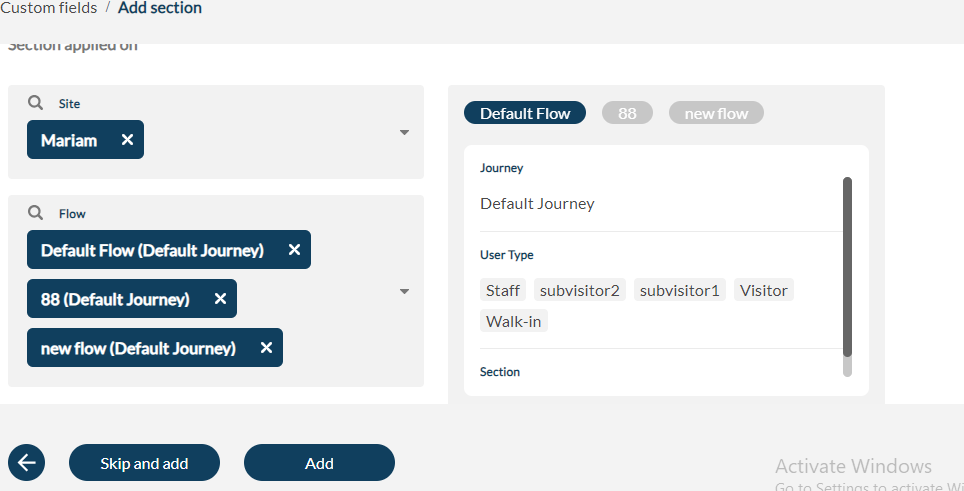
After that, you will choose the site and the journey that you want this to be applied to.
Next, we have custom fields that are bounded by the user profile.
Just as it is here.
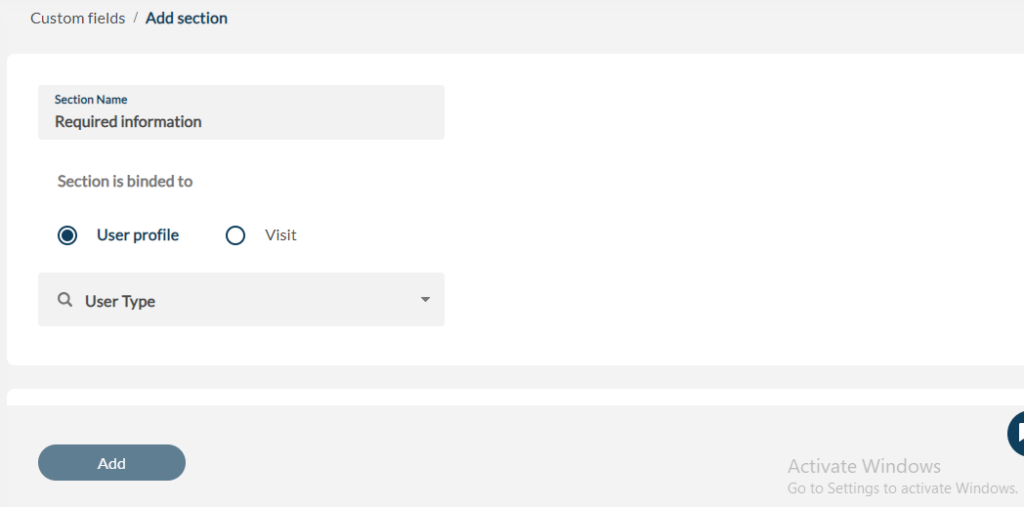
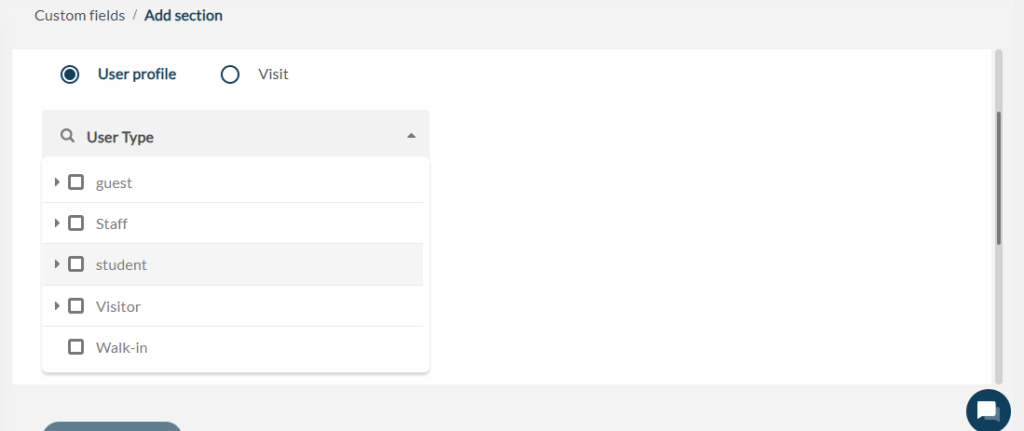
After that, you will choose the user types you want this to be applied to.
Then simply create the custom field and choose the correct type for it as shown in the picture below.
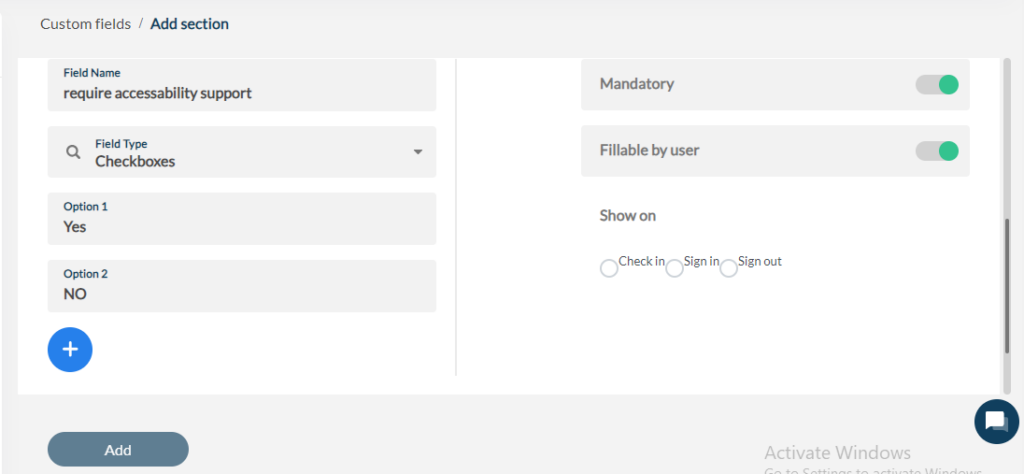
Once that is added, it will apply to all user types that were chosen and the information will be acquired only once.
